Crispy Oven-Fried Chicken Tenders

Serves 4

Chicken tenders are a comfort food for many, but due to the calories added by deep-frying we usually reserve them for ordering occasionally as an appetizer at restaurants.  This recipe makes it not only healthier by cutting out the oil and deep frying, but also allows you to do it in a quick and easy manner.  These crispy oven-baked chicken tenders are absolutely delicious and they really are almost as crispy as if you’ve deep-fried them.  Kids and adults alike will enjoy them, especially served with the suggested simple, but oh-so yummy, dip recipe!   Let’s get started.

Crispy Oven-Baked Chicken TendersCrispy Oven-Baked Chicken Tenders Crispy Oven-Baked Chicken TendersCrispy Oven-Baked Chicken Tenders

Crispy Oven-Fried Chicken Tenders – Recipe

Ingredients

For Crispy Oven-Fried Chicken Tenders

  • 1lb chicken tenders, cut lengthwise in half, washed and patted dry
  • 1 cup flour
  • 2 eggs, beaten
  • 2 cups breadcrumbs (to make your own, toast three thick slices of bread and process in a coffee grinder or food processor into coarse crumbs)
  • ½ cup cheese, shredded (optional)
  • Salt, to taste
  • Pepper, to taste
  • 2 tsp. ground dry red chilies, divided (optional)

For Dip

  • 2 Tbsp. mayo
  • 2 Tbsp. ketchup
  • 2 tsp. sriracha sauce
  • 1 Tbsp. mango juice or mango jam (substitute orange jam or other similar tasting thick juice or jam)

Instructions

  1. Preheat oven to 425 degrees and line a large baking tray with aluminum foil. Place on top oven rack to preheat.
  2. In a bowl, add chicken tenders, salt and pepper to taste and 1 tsp. of the ground dry red chilies (if using). Toss well to coat and set aside.
  3. Set up your dredging stations: 1. Set one large plate with flour (seasoned with salt and pepper), 2. Set a bowl next to it with two eggs, beaten, 3. Set a large plate with breadcrumbs, cheese (if using), salt and pepper to taste and the rest of the ground dry red chilies (if using) and combine well.
  4. Bring out the preheated baking tray, grease it with butter and set it carefully next to the 3rd dredging station. Place marinated chicken tenders before the first dredging station.
  5. Working quickly, dredge each chicken tender in the flour and shake off excess. Next dip it into the egg and let excess drip back down into the egg bowl and then roll in the breadcrumb mixture until well coated.  Place carefully on the baking tray.  Repeat for each of the other chicken tenders until there are none left.  If you keep a bowl of water nearby, this will help remove excess breadcrumbs from your fingers.
  6. Place the tray in the oven and bake for 10 minutes and then carefully turn each chicken tender over and bake for another 5 minutes. Turn off oven and remove chicken tenders to serving plate.
  7. While the chicken tenders are baking, mix all ingredients in the ‘dip’ section in a small ramekin or cup until combined well.

Crispy Oven-Baked Chicken TendersCrispy Oven-Baked Chicken TendersCrispy Oven-Baked Chicken Tenders Crispy Oven-Baked Chicken Tenders

Serve chicken tenders right away with the dip on the side.

Basil Pesto

Serves 8 (makes a medium sized jarful)

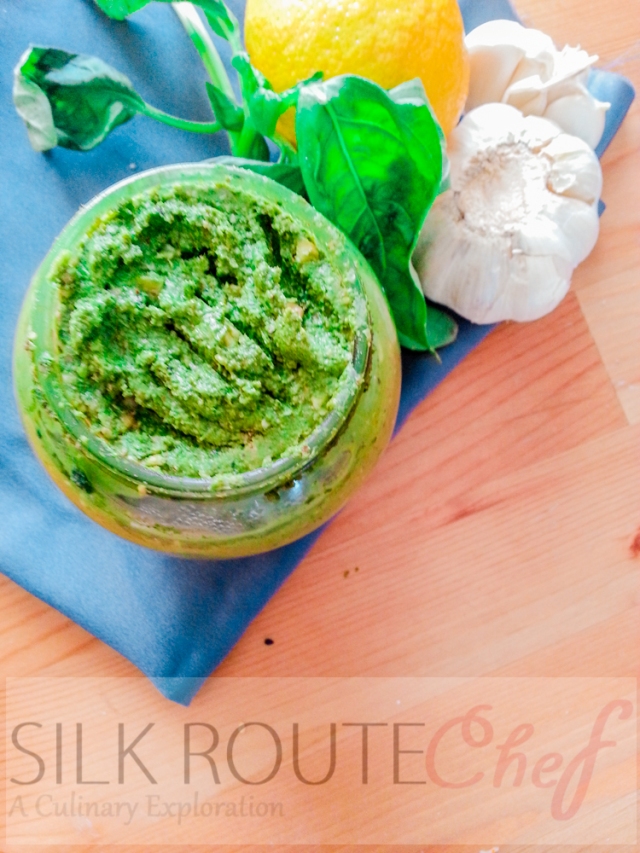
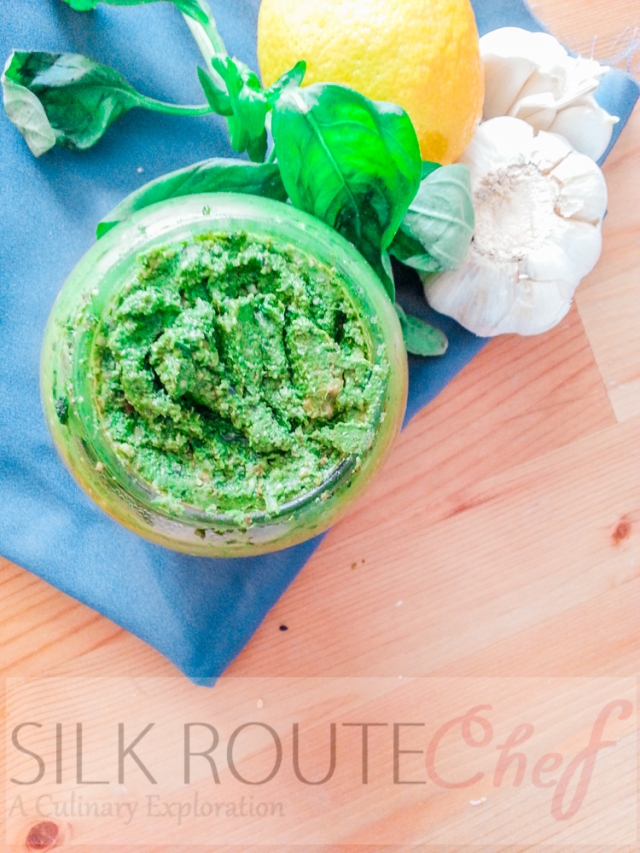
There are many different kinds of pestos.  Some are very traditional with classic Italian ingredients and some are innovative with a healthy bent substituting kale or arugula as the main green.  Hints of olive oil, garlic and lemon and a variety of nuts enhance any variation of pesto.  This is a very classic Italian basil pesto with the exception of the walnuts, which are a more economical alternative to the expensive toasted pine nuts usually found.  The taste is robust and delicious and goes well with pasta or can be used for any other spreading, dipping and filling use you can think of!  Let’s get started.

20140216_104918

Basil Pesto – Recipe

Ingredients

  • 2 ½ cups fresh basil leaves, packed tightly (wash with ice cold water and pat dry)
  • 1 cup walnuts, toasted (reduce by half if you want a less nutty flavor)
  • 5 cloves, garlic, chopped
  • ½ small lemon, juiced
  • ½ cup Parmesano-Reggiano or Romano cheese, freshly grated (optional)
  • Salt, to taste
  • Pepper, to taste
  • ¼ cup extra virgin olive oil

Instructions

  1. Add walnuts into a food processor or blender and process until just broken into chunks.
  2. Add basil, garlic, lemon juice and process until desired consistency is reached.  I like mine a little coarse, but you can process until completely smooth.
  3. Add cheese if using and process a few seconds.
  4. Season with salt and generous amount of pepper and drizzle in olive oil and process for another few seconds until everything is well incorporated.

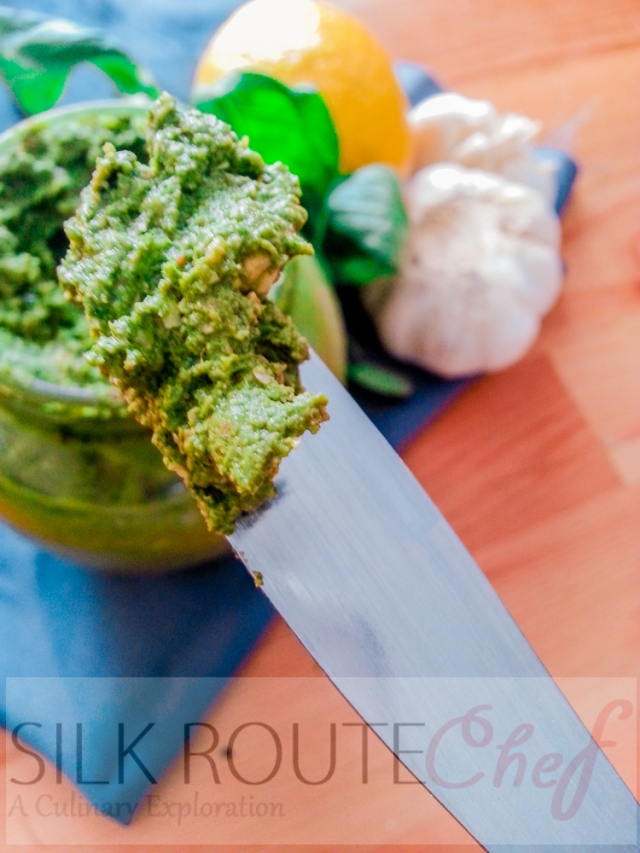
20140216_105006 20140216_105057 20140216_105032

Remove to a jar and refrigerate until ready to use.  The pesto will keep well (with the cheese) for a week.  It will keep for a lot longer without the cheese so you can add the cheese in and incorporate prior to serving as well.  This makes a nutty, tangy basil pesto that’s great on pasta, baked into breads, spread over baguettes or stuffed into baked chicken breasts.

Skordalia (Greek Style Potato and Garlic Dip/Spread)

Serves 6

I used to have skordalia at my favourite Greek Restaurant almost every time we went there.  It wasn’t a meal unless it started with this amazingly delicious and warm spread.  Sine I discovered the recipe for it, I’ve made it on and off for the past few years with little alteration.  It’s so comforting and has a great punch of garlic and a lemony zing that’s irresistible.  I like this dish on the very flavourful side since it’s a spread/dip and you want to still taste it even on something as dense and plain as bread.  Let’s get started.

Skordalia

Skordalia (Greek Style Potato and Garlic Dip/Spread) – Recipe

Ingredients

  • 5 medium russet potatoes, quartered and boiled until just tender
  • 10 – 12 cloves garlic, chopped
  • 1 ½ lemon, juiced
  • 1/3 cup olive oil, plus more for topping
  • Salt, generous amount to taste

Instructions

  1. Peel potatoes, set aside.
  2. Throw garlic into a food processor and pulse until nearly smooth.
  3. Add in potatoes and olive oil and process until completely smooth and free of lumps.
  4. Add in the lemon juice and salt and combine until well blended.  Taste test and add more salt as needed.

Skordalia 2

Skordalia 3

Dish out and top with a drizzle of olive oil and serve with toasted crusty bread or sliced pita bread. You can spread it, dip it or even have it as a side with chicken!  Skordalia is very versatile and you’ll find lots of things to dip into it.  My cousin discovered that it goes great with South Indian lentil fritters (vada).  Go figure.

Mint and Green Chili Dip/Dressing (Chutney)

Serves 6

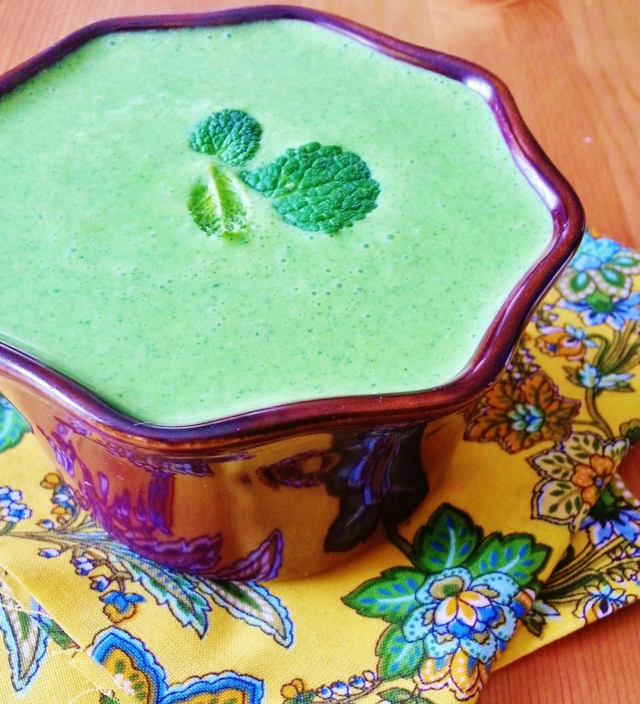
This is a quick and easy savory, slightly spicy all-purpose dip that goes well with many dishes.   It takes a few minutes to make and is so versatile you’ll find a lot of uses for it. Let’s get started.

Mint and Green Chili Dip (Chutney) 3

Mint and Green Chili Dip/Dressing (Chutney) – Recipe

Ingredients

  • 1 bunch mint, cleaned and leaves removed
  • 3 green chilies, chopped
  • Thumb sized piece ginger, chopped
  • ½ a lime, juiced
  • ¼ cup yogurt
  • Salt, to taste

Instructions

  1. Add all ingredients into a blender or food processor and blend until smooth.  Taste test for salt and add as necessary.

Mint and Green Chili Dip (Chutney) Ming and Green Chili Dip (Chutney) 2

Serve with chicken 65, chicken tikka, tandoori chicken, fried fish steaks, idli, dosa, vada, samosas, cutlets, carrot sticks or as a dressing for a crispy salad!